For woodlot management, an ATV can be invaluable, providing property access, pulling trailers and other heavy loads, and, with a bit of modification, also serving as a mobile toolbox. While there are a variety of commercially produced saw scabbards for ATVs, chainsaw stowage only solves part of the problem. In my case, in addition to the chainsaw, I also need to be able to carry mixed gas, bar oil, an axe, a choker chain, felling wedges, Spencer tape, chainsaw files, and a chainsaw tool (scrench).
The idea of having a single, organized box on the front of my ATV seemed preferable to the bungee cords and 5-gallon pails that have traditionally held my tools. I used plywood, 2-by-4-inch scraps, and deck screws to construct this durable toolbox in well less than an hour.
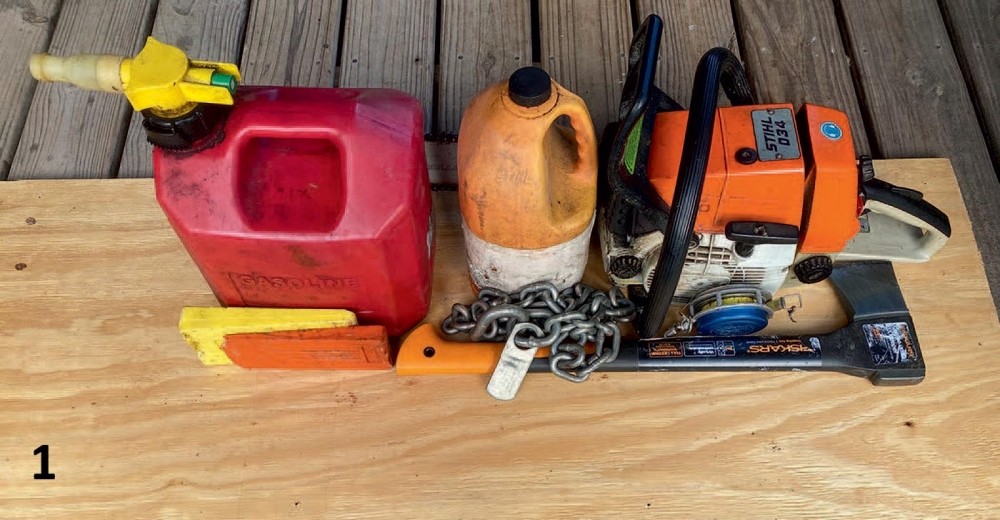
Begin by laying out the tools you wish to have in your box. Organize them in a way that is compact, but allows for easy access. Measure the width and depth of your ATV rack and try to work within these dimensions for your layout. (Image 1)
I opted to design an open-top box for the front rack. From an efficiency standpoint, I prefer having the saw at the front of the ATV, because I often drive up to fallen trees across the trail and can eliminate a few steps by having the saw within reach. If you need a larger box, it may make sense to use the larger rear rack.
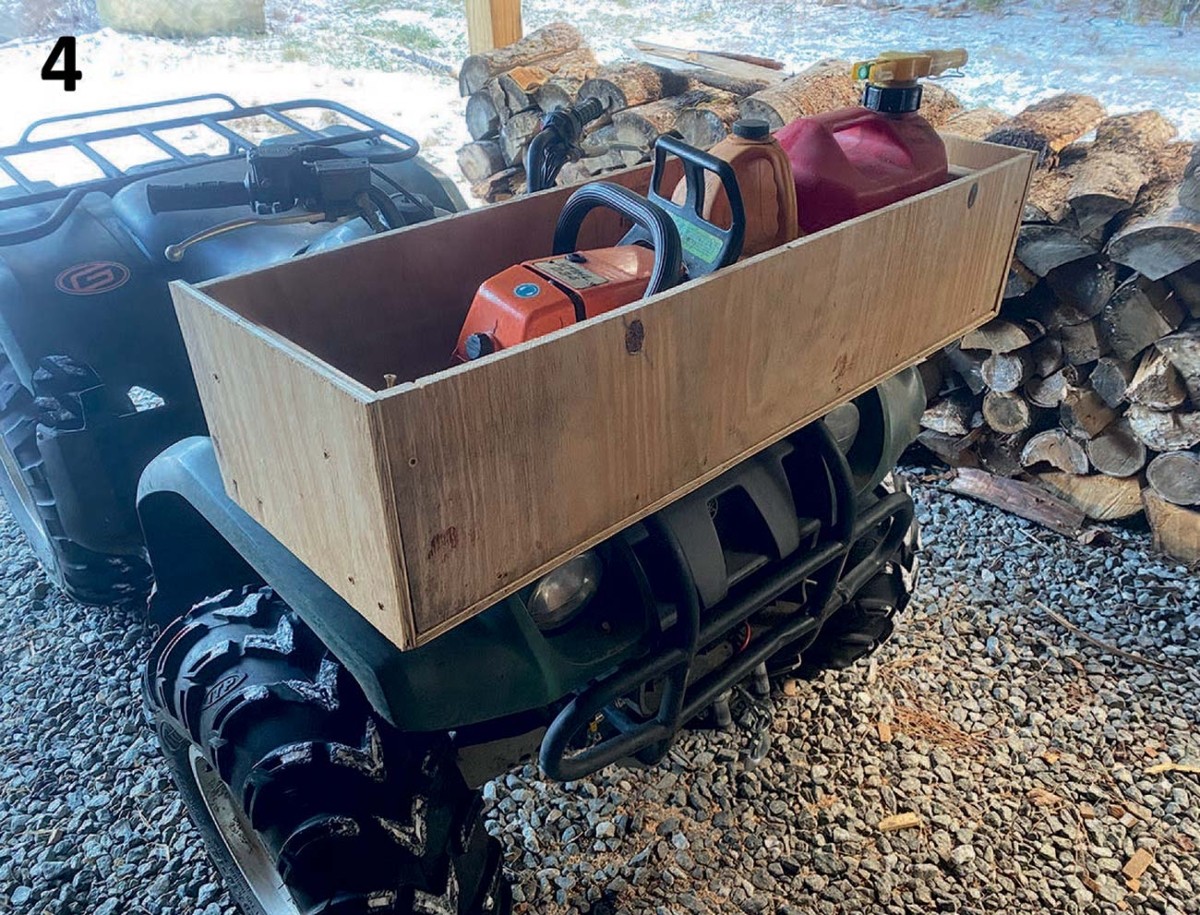
For my purposes, I opted for a box 38 inches wide, 13 inches deep, and 11 inches tall. I cut the wood for the sides and base, but before I assembled them, I took the 38-by-13-inch base and attached 2-by-4-inch braces at the ends, with 2-by-2-inch rails along the sides. I then positioned my chainsaw inside the base of the box and screwed a 2-by-2-inch block that serves as a chainsaw brace between the powerhead and the bar. (Image 2)
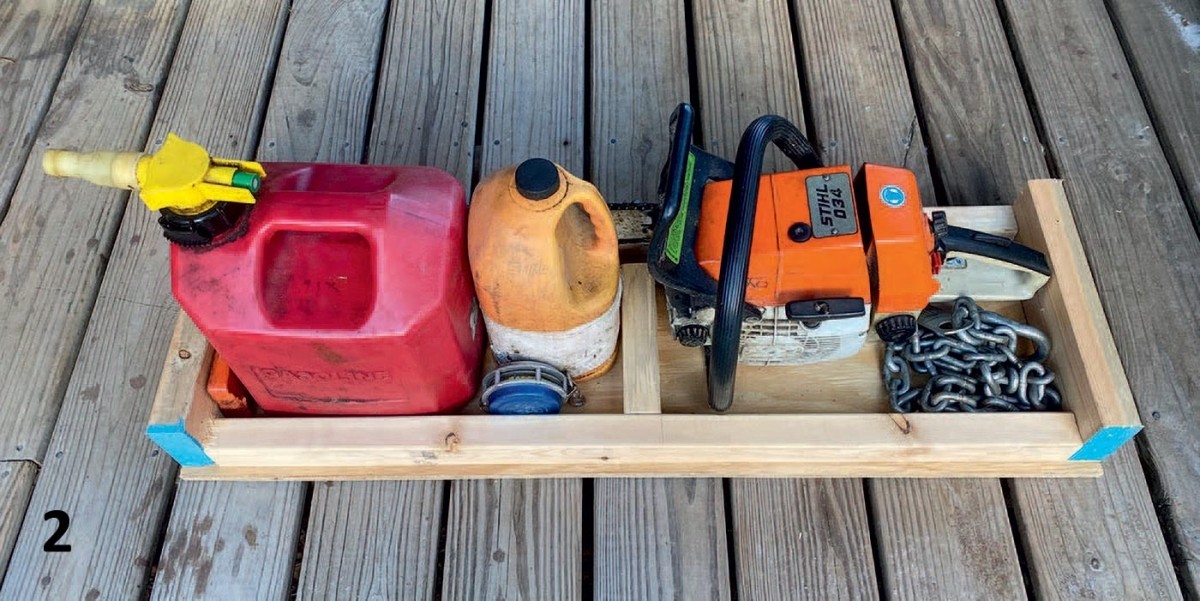
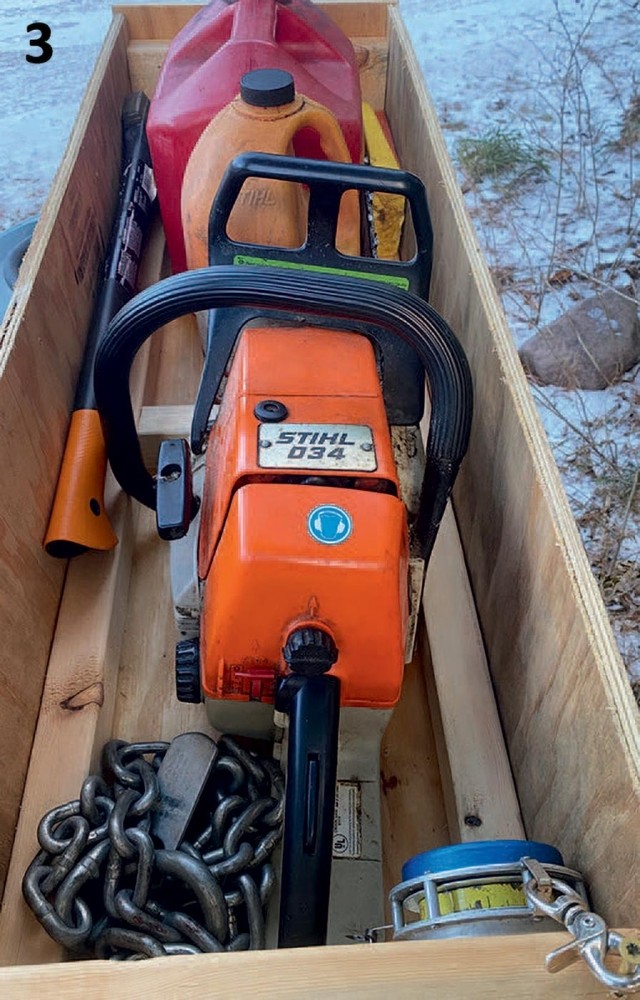
Once you have a base that fits your chainsaw, use a series of 15/8-inch deck screws to secure the sides and ends of the box. (Image 3) If you typically work at low speeds on level terrain, you may prefer to keep the top of your box open for easy access. (Image 4) If you work on rougher terrain, consider adding a hinged top or bungee netting. If you want to permanently attach the box to the rack, consider using small U-bolts that attach to the crossbars of the rack. For a more temporary application, six industrial zip-ties looped through ¼-inch holes in the bottom of the toolbox can be used to hold it securely in place.